wasatch back: the photo journal

I know I already blogged a little about this, but seriously, looking at the pictures (finally) just reminded me that, while I was totally under trained and sucked it up big time, it was all worth it, for both the surroundings and the camaraderie. I’m not going to say more than that. Oh, who am I kidding? The other thing I want to say is that, while I do not love living in Utah, running this race reminded me that it really is one of the prettiest states in the country. And I think I will probably survive the 16 more months I have of living in this state (more specifically, this town) full time.


So, I know this isn’t the most exciting picture of the bunch, but please note the multiple band aids and the seriously swollen ankles (they are naturally very thin…I promise, they are swollen, similar to what they look like right now, after walking the streets of SF

cooking class


For years I have thought it would be fun to take a cooking class. I’ve taken cake decorating, but never cooking. I don’t know why, but they really intimidate me. Actually, any class where I don’t know anyone intimidates me, but I just power through it, I guess.

Well, yesterday I’m in Whole Foods (I love this store and am so happy that for the three weeks I’m in California, it’s just across the street…but that’s another post for another day) picking up some things for lunch and happen to see the class schedule. And, to my delighted surprise, the class yesterday was a souffle class; something I have never attempted before because they scare the crap out of me.

Before I could even think about it (because I wouldn’t have done it if I had), I signed up and paid for the class. The rest of the day gave me time to get both excited and nervous. By about 6:45 (15 minutes before the class started) I was ready to just forfeit the money, but then I got over that and headed over to Whole Foods (a couple of minutes late…didn’t want to be the first person there).

It was absolutely lovely. There were only for of us; a mom, her son, an attorney, and me (oh, and the instructor). It took a second before we all warmed up to one another, but warm up we did, and soon we were all moving, stirring, whipping, chopping, etc., etc. And I learned a great, new folding technique that ensures much less flattening of the egg whites (the key to souffles is air…thus the name “souffle” which means “breath” in English).

With a little over two weeks here, mainly on my own (I’m house-sitting for my sister), I have every intention of taking a few more classes. If I get really daring, I may even take one that doesn’t involve baking (regular cooking, where you have to season things and can improvise, is not my strength).

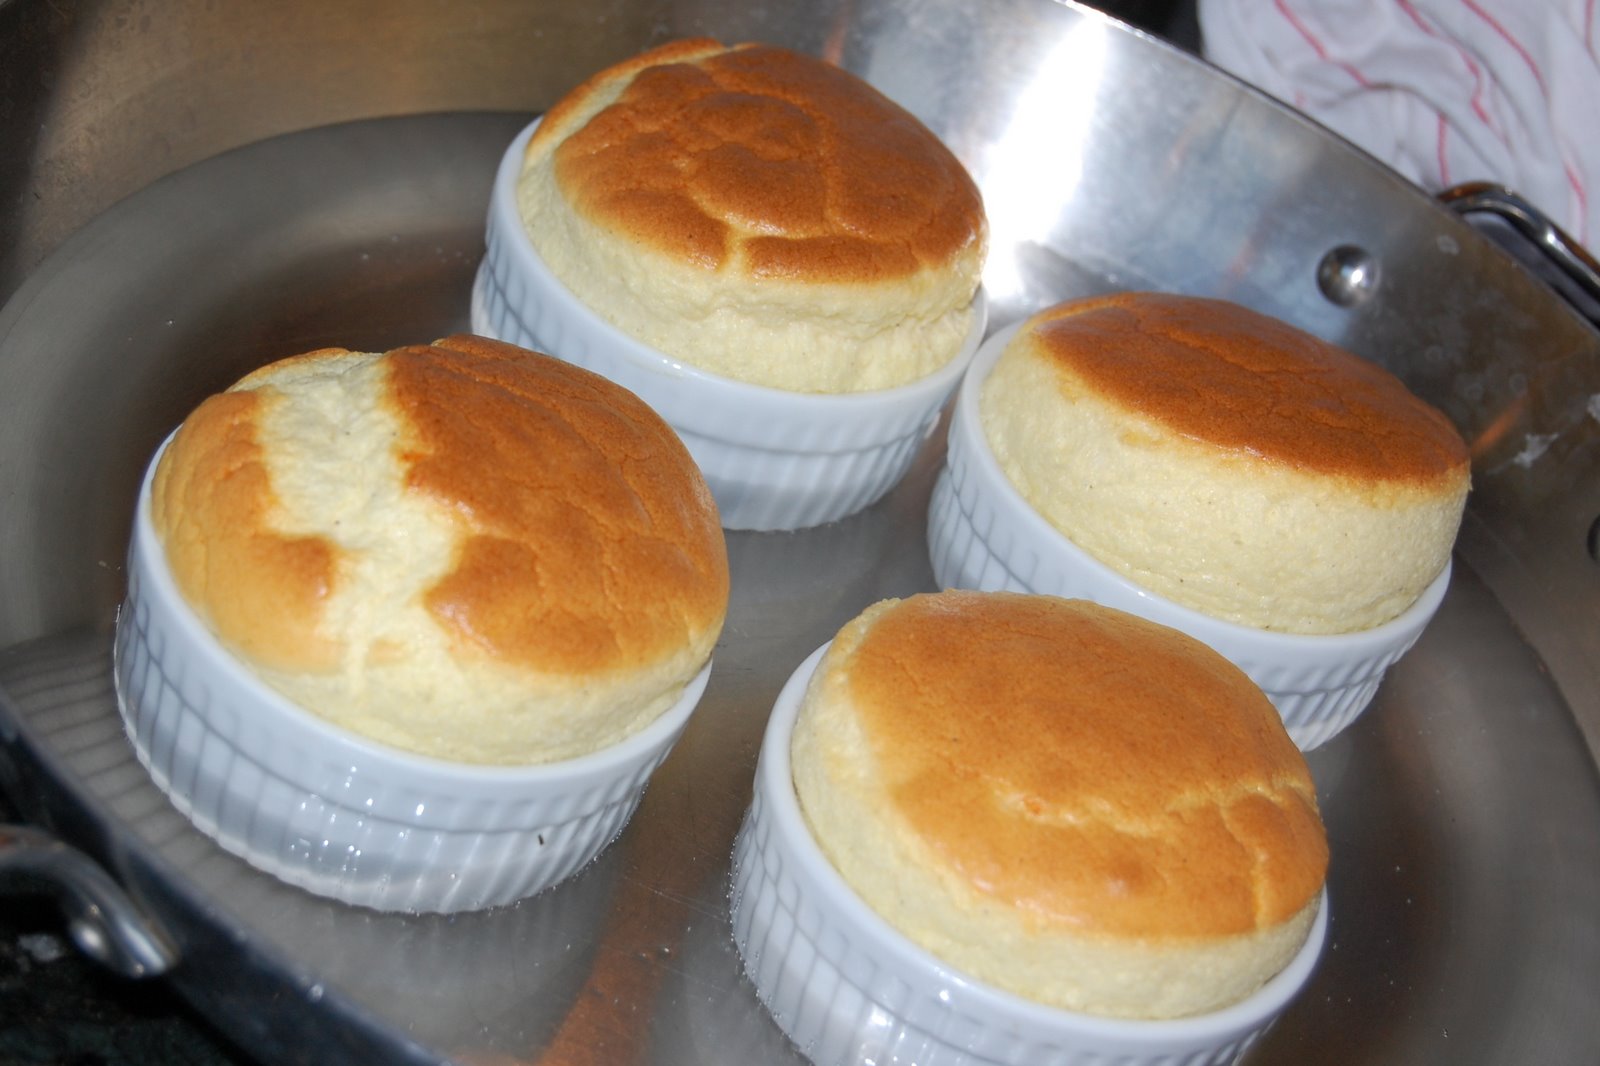
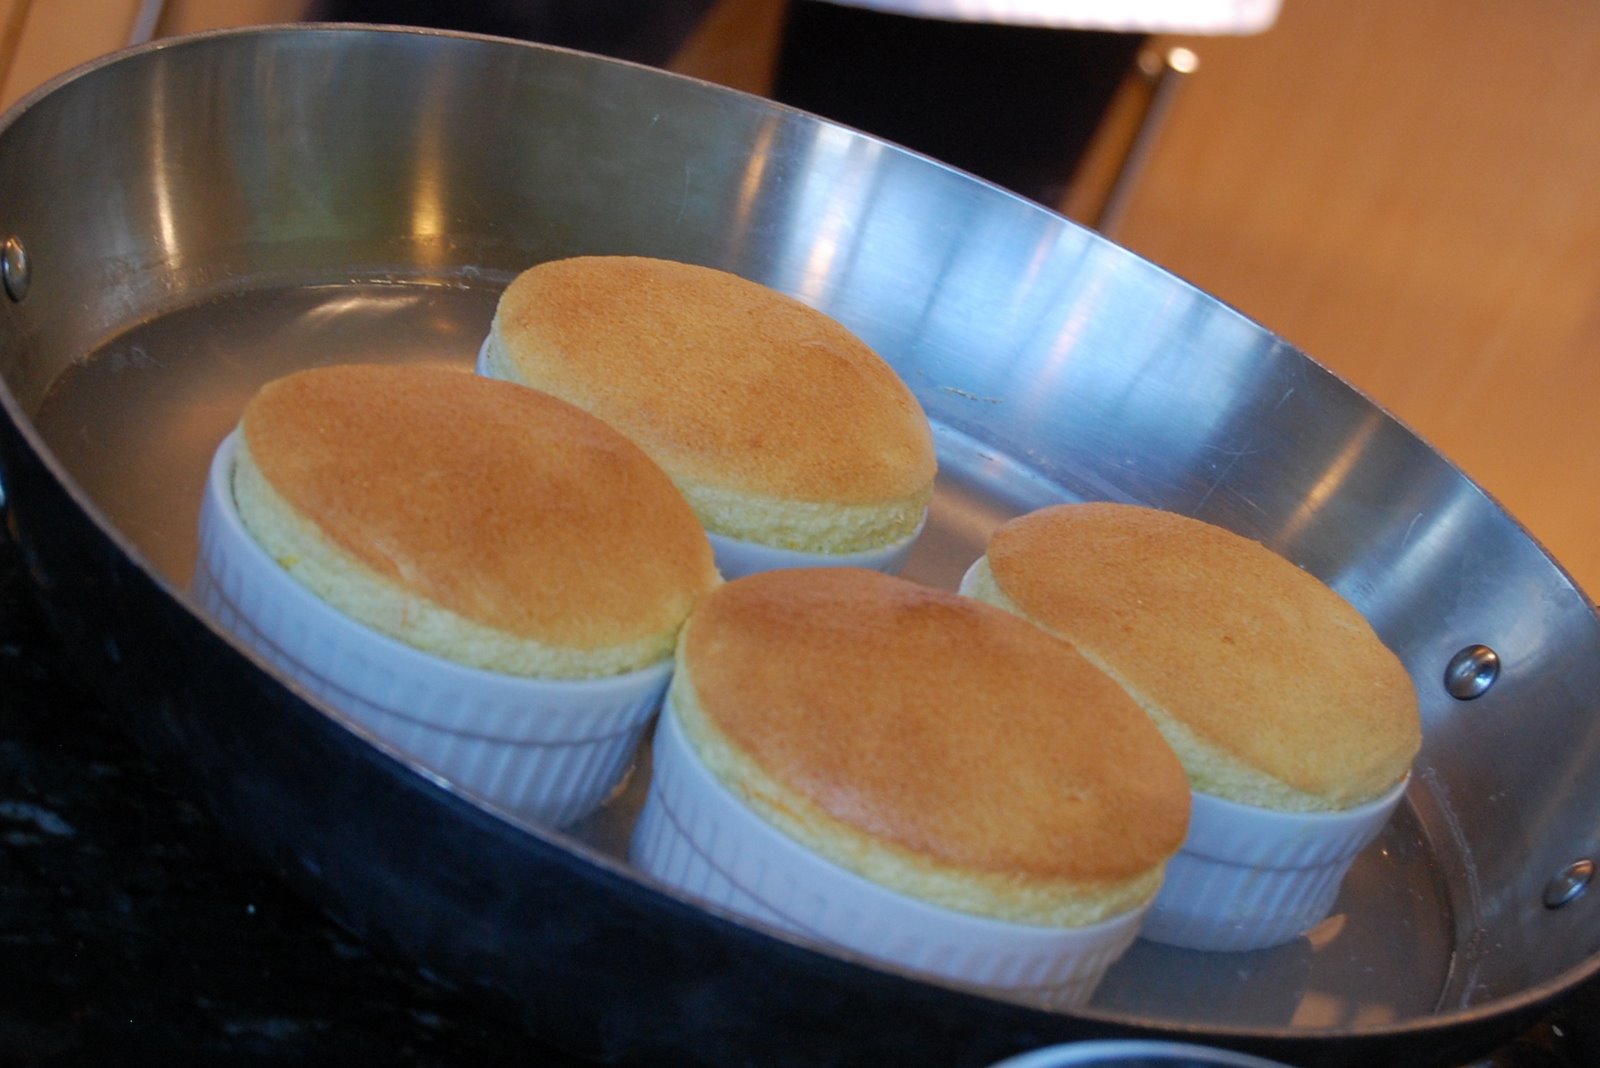
Of course, me being me, I didn’t hesitate to ask if I could take pictures, so here they are. All of the recipes are on Epicurious.com. If I have a little more time, I will link them in later.

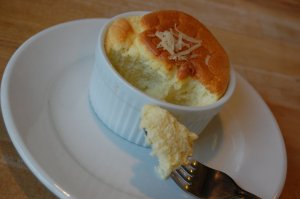
Gruyere and Parmesean

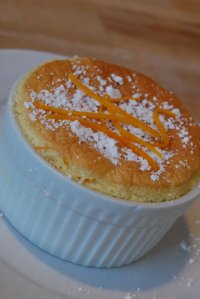
Orange (absolutely divine)
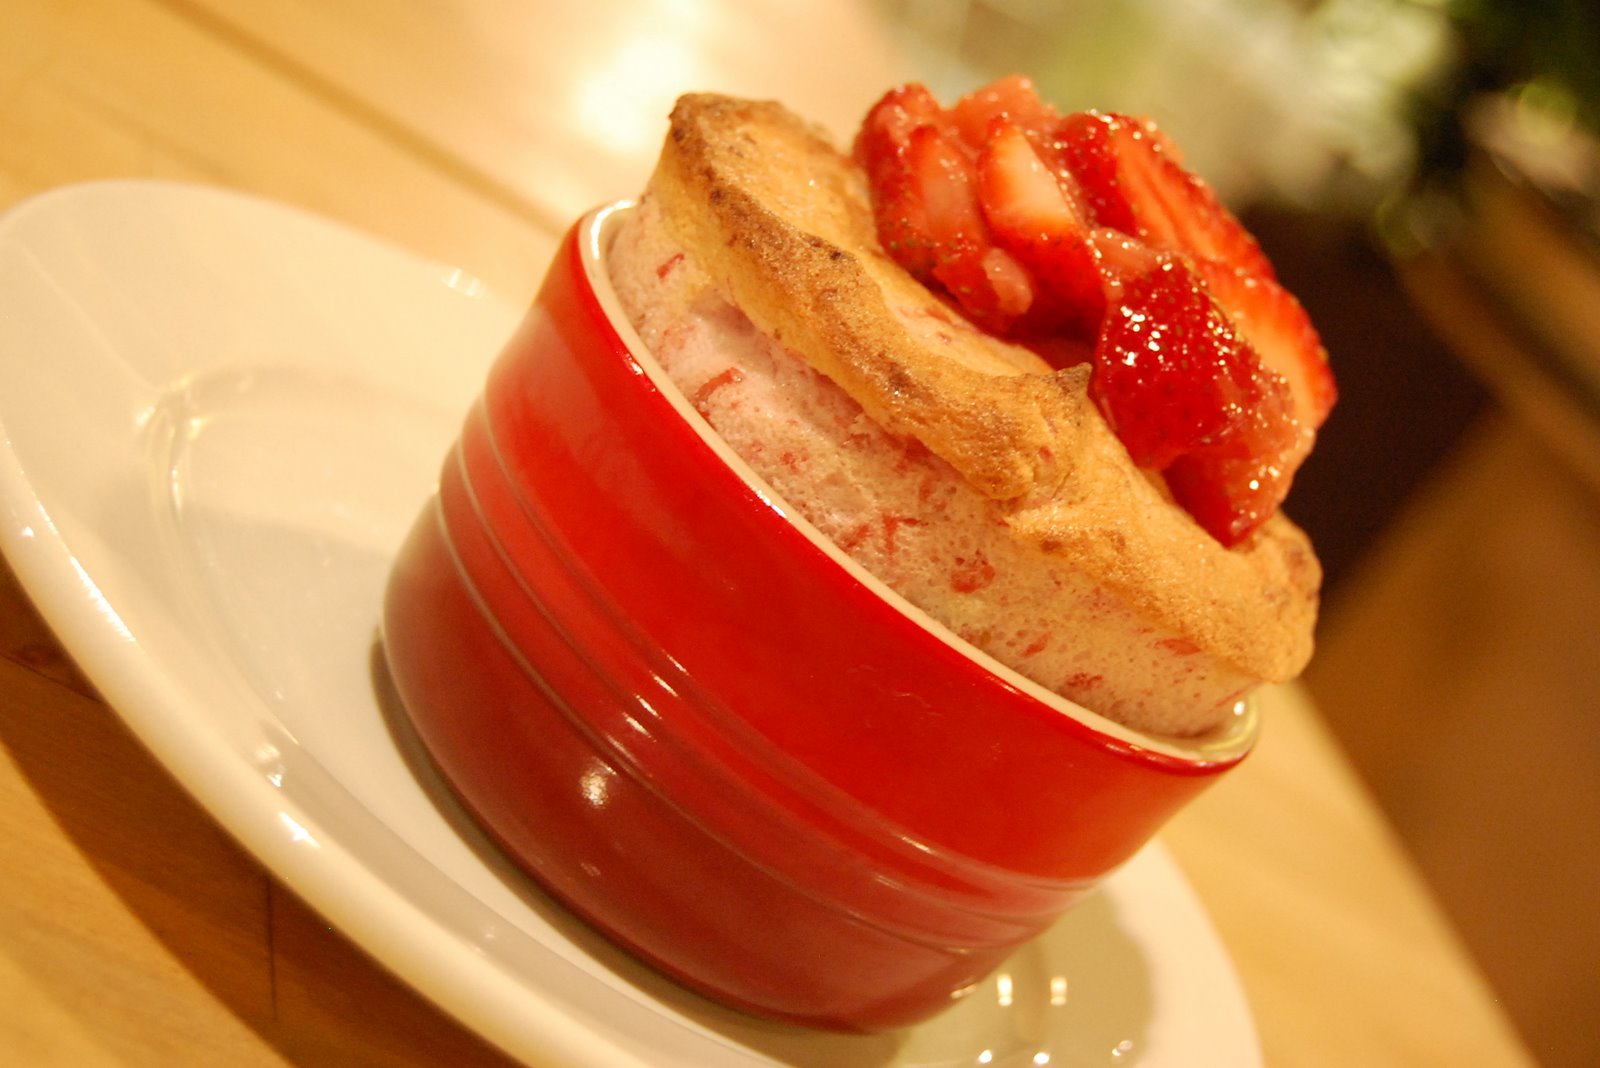
Strawberry with a strawberry and rhubarb garnish (totally fat-free)

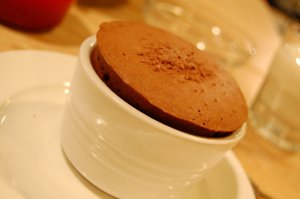
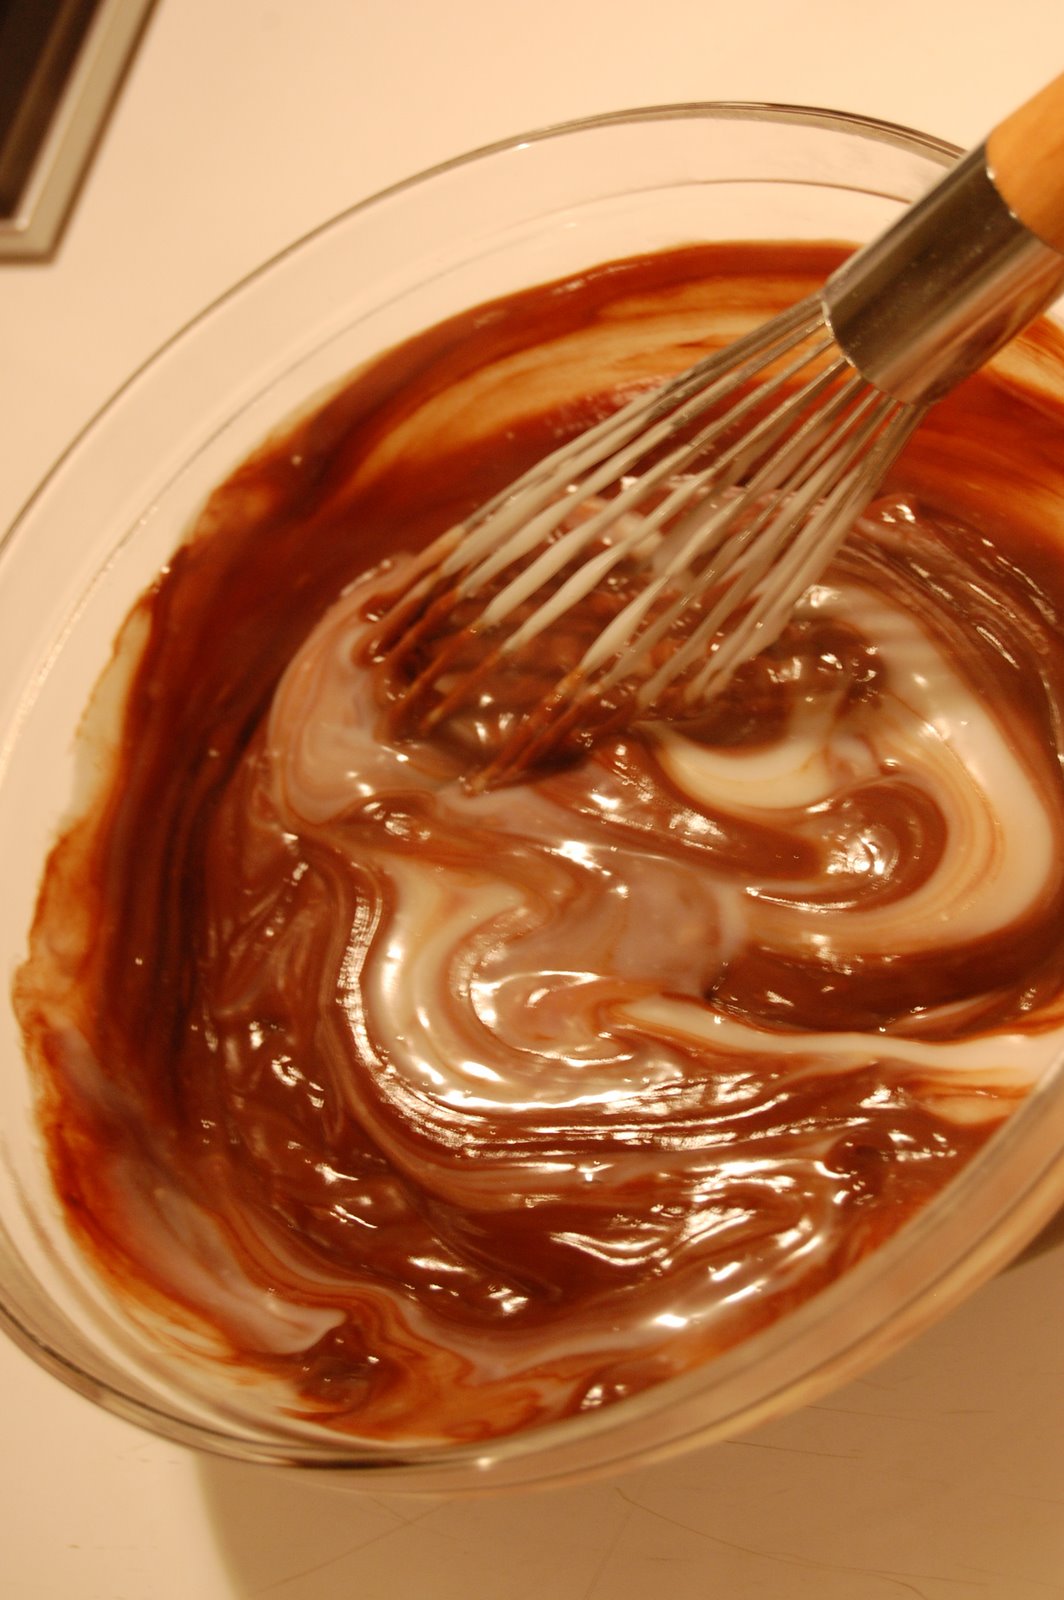
Bittersweet Chocolate (a fabulous death by chocolate – obviously, as a total chocolate addict, this was my favorite…although I really enjoyed all of them)

long overdue

So, since the iPhone became a part of my life, I rarely get on the computer to use the internet, and while posting from the iPhone is possible, pictures aren’t so easy…because they aren’t all on my iPhone. (And to those of you who read my blog and have heard about the new, smaller, faster, cheaper iPhone, here’s the thing, I have no intention of parting with my more expensive, bigger iPhone…I don’t know how I ever lived without this). Back to my point, so, I rarely get on my computer to get online.

Tonight, however, I needed to send a longer email (and I type much faster on a regular keyboard with ten fingers), so I’m on the laptop and decided that I needed to post some pics.

These are from my trip to Vegas a couple of weeks ago (and for those of you wondering why I never post pics of my adorable niece with whom I’m spending most of my waking – and sleeping – hours, it’s because her parents have asked me not to, and not because I don’t love her or think she’s photo worthy…I have taken over 400 pics of her since I’ve been here).

Okay, so here are the Vegas cuties. I took these with my brother and sis-in-law’s camera (same as mine, but they have a 55-200 mm lens that I covet regularly); just a little fun at the park:


This is the only one that I wanted to caption (the rest speak for themselves, I think), but this is my sweet nephew, who loves to give hugs (when he’s in the mood) and he randomly decided he needed to give this little girl a hug. It was absolutely adorable. My favorite is that he says “hug” before he hugs you!


One more caption. T. is a sponge and just, as most 2 year olds, absorbs everything around him. Anyway, this is him in the process of doing a little power grunt that he learned while watching Flushed Away (a surprisingly cute movie). He also learned how to “spit and shake” (although the spitting T. does is fake…just a little ptoo) from that movie. Seriously adorable!

put the lime in the coconut cupcakes

So, once again I’ve stolen a recipe (and post) from Mel, but I did modify it a bit. I have now made this twice (both times in Las Vegas because Justin and Cherity like coconut as much as I do); once as a regular cake (in a 9×13 inch pan with no layering or anything) and once as cupcakes. Both were delicious. The pics, obviously, are the cupcakes and should explain what I did. The only modification that won’t be shown in the pictures is the bake time…which I just got from looking at a box mix. This recipe makes 24 cupcakes…except you can half the glaze.

Cake: (don’t you dare use a coconut flavored box mix. The cake is A-MAZING and not too time consuming to make from scratch.)

  • 1 cup butter
  • 2 cups sugar
  • 1 teaspoon coconut extract
  • 4 eggs
  • 2 1/2 cups all-purpose flour
  • 1/2 teaspoon salt
  • 1 teaspoon baking soda
  • 1/2 teaspoon baking powder
  • 1 cup coconut milk

Preheat oven to 350 degrees F and grease and flour 2 (9-inch) cake pans.

In an electric mixer or using a hand beater, cream butter and sugar until fluffy. Add coconut extract and eggs 1 at a time. In a mixing bowl or on a sheet of parchment paper, combine flour, salt, baking soda and powder. To mixer add coconut milk and flour to creamed mixture alternately, beginning and ending with flour. Pour batter into prepared pans and bake for 25 to 28 minutes. Allow to cool 10 minutes then turn out of pans onto rack(s) over a sheet pan and allow to cool completely.My little scraper cleaner!

Lime Glaze

  • 1 cup sour cream or yogurt
  • 1 cup sugar
  • 2 limes, zested and juiced
  • 1/4 cup coconut milk
  • 1 cup shredded coconut

In a medium bowl combine sour cream or yogurt, sugar, lime zest and juice, coconut milk, shredded coconut. With a bamboo skewer, poke holes in cake and spread glaze on both sides of both cakes. Cover with plastic wrap, chill until ready to frost cake.


Icing: (if you’re making an actual layer cake, you may need all of the icing this recipe calls for. If you’re just going to frost the top of the cake, 1/2 or even 1/4 of this amount will be enough.)

  • 1 cup butter
  • 4 ounces cream cheese
  • 1 pound box plus 1 cup powdered sugar
  • 1/4 cup coconut milk
  • 1 teaspoon vanilla
  • 2 cups shredded coconut

In an electric mixer or using a hand mixer beat together the butter and cream cheese until well blended and fluffy. Add the powdered sugar gradually at low speed. Beat in coconut milk and vanilla. Frost cake. Coat top and sides with shredded coconut.

chocolate haupia pie

The chocolate haupia pie is the one on the left…the white one. A week later.

Ingredients

  • 9″ pie crust, baked and cooled (normally, I’d bake my own, but it was nice that I didn’t have to)
  • 14 oz. can of coconut milk (you can use “light”)
  • 1 cup sugar
  • 1 cup whole milk
  • 1/2 cup cornstarch
  • 1 cup water
  • 7 oz. semi-sweet chocolate chips
  • 1 1/2 cups heavy whipping cream
  • 1/4 cup sugar

In a heavy saucepan, combine coconut milk, sugar, and whole milk using a wire whisk. Cook this mixture over medium heat until boiling, stirring constantly.


Combine cornstarch and water in a small bowl. Add slowly to coconut milk mixture. Simmer until thick.

Put semi-sweet chips in a heat proof bowl. Pour half of thickened coconut milk mixture over chocolate chips. Combine until chips are completed melted and the mixture is smooth.

Pour chocolate mixture in bottom of shell and spread. Spoon reserved coconut mixture over chocolate layer and spread.

Refrigerate at least one hour, but best to do refrigerate overnight.

Whip cream and 1/4 cup of sugar. Layer whipped cream on top and serve.